
Your Essential Water Tank Maintenance Checklist
Need a handy reminder for your maintenance process?
Download and print your free water tank maintenance checklist today.
In recent times, many environmentally-conscious businesses are turning to water storage tanks as a way to reduce their reliance on water supplies, minimise disruption from water shortages, and save money on their running costs.
But as is often the case with any equipment investment, regular maintenance is vital; not just for keeping the tank working as intended, but also for avoiding potentially deadly health hazards.


Why is water tank maintenance important?
As we often touch upon here at the Dynamika blog, employers and landlords (as well as other duty holders) are legally obliged to protect staff and customers from health and safety risks; including the threat of Legionnaires’ disease.
Compliance with HSG274 and ACoP L8 is therefore essential to avoid major fines (or even worse – particularly if someone falls ill as a result of neglecting your safety duties).
Though the exact frequency of inspections and maintenance will depend on your particular water system, we recommend carrying out inspections at least once every six months.
Building a maintenance schedule
If you’ve never carried out maintenance on water storage tanks before, it’s important to plan ahead.
Complete these steps prior to the first maintenance session, and review them with each new maintenance visit.
Is your maintenance risk assessment up to date?
Water tank maintenance can be dangerous work, with potential hazards including slippery tank floors, harmful cleaning chemicals and bacterial infection.
Make sure you have a risk assessment already in place, with appropriate measures to control the risks; ensure that it’s fully up to date, and confirm that workers are aware of the risks and countermeasures before work begins.
Are your maintenance staff fully trained and equipped?
Workers should be fully familiar with not just water tank maintenance procedures, but also the specifics and layout of your particular water system.
The appropriate tools and personal protective equipment (or PPE – such as gloves, goggles, hard hats and safety boots) must be supplied to maintenance workers.
Any faulty equipment is replaced prior to maintenance sessions; and as an extra layer of caution, all maintenance equipment should be disinfected prior to use.
Are you carrying out regular microbiological testing?
This is essential for dutyholders under HSG274 and ACoP L8 legislation. Water sampling and testing should be carried out frequently, to ensure the water quality and identify any bacterial contamination as soon as possible.
The exact frequency of testing will depend on your legionella risk assessment; but in any case, if testing uncovers higher bacterial concentrations than expected, an urgent maintenance session is recommended.
Do you have records of the age of the tank?
Simply put, no water storage system lasts forever. Tank materials and coating systems have a limited service life; after which the tank will either need to be recoated, or eventually replaced entirely.
Don’t get caught out by failing equipment. Identify the expected service life of the tank and its coating types; and make a note of how long they’ve been operating with every maintenance session.
Are scheduled maintenance sessions recorded in your calendar?
There’s not much point in planning out a maintenance schedule if you’re not going to follow it.
Dates and times of maintenance sessions should be written down, easy to find, and they must be relatively immovable.
It’s all too easy for competing business priorities to overload your schedule planning. But the longer that maintenance dates are left to drift, the higher the risk that your safety negligence will come back to bite you.
That said, don’t forget that any work on your water systems can be temporarily disruptive; so be sure to plan maintenance sessions around your regular schedule to minimise any company downtime.
Inspecting your water tank
While water tanks may require no more than an annual maintenance session, it’s wise to inspect the condition of your tanks more regularly.
The exact frequency generally depends on the purpose of the tank, but monthly inspections should be more than enough for almost any application.
Have you completed an initial visual inspection?
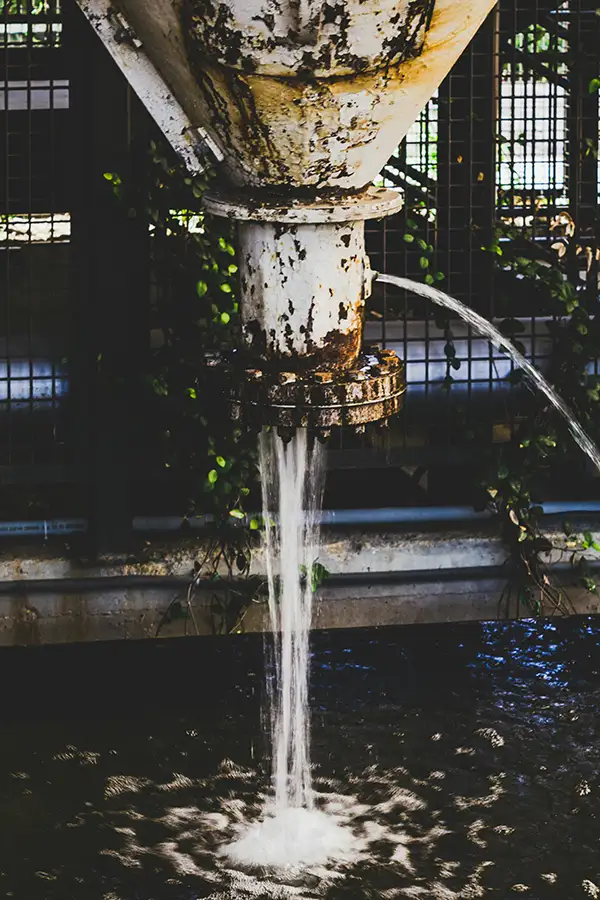
Does the integrity of the tank appear to be compromised in any way? Keep an eye out for signs of:
- Rust and corrosion
- Pitting
- Cracks
- Bulging
- Leaks and pooling
- Loose bolts or seams
- General wear and tear
Is the lid of the tank secured? Are exterior rodent/insect screens in place and fully intact? Keep an eye out for any nests, droppings or other signs of pest habitation.
Are air vents clear and in good condition? (Remember that potable tanks must be fully watertight to prevent contamination.)
What about outer coatings and insulation materials? Do they look like they might need replacement?
What does the water quality look and smell like? Is there scum, surface films, sediment, algae or mould?
If you’re carrying out the inspection as part of a larger maintenance session, checking the tank over at this stage before draining it also enables you to identify any leaks more easily.
Are inlet/outlets working?
Check all valves and taps connected to the tank (including overflow pipes, warning pipes and pressure release valves) to ensure they’re functioning correctly. Are there signs of leaks on any inlets or outlets?
Are electromechanical components working as intended?
Safe water storage on a commercial/industrial scale almost always requires more than just a tank.
Be sure to review the operation of any electronically-operated components; including:
Temperature control systems
Heating elements
Cooling fans and chillers
Treatment systems
Distribution pumps
Level switches and sensors
Pressure release valves
A more thorough inspection might need to wait until you’ve drained the tank; more on this shortly.
Are access ladders and catwalks safe to use?
This isn’t necessarily important for the condition of the tank itself, but it’s absolutely vital for ensuring the safety of staff (including the maintenance workers themselves).
Examine ladders, catwalks and guardrails thoroughly for any signs of rust, damage or loose fixings.
This includes internal ladders; although again, you might need to wait until the tank has been drained first.
Has the current state of the tank been documented?
Take photos of the tank’s condition and record notes throughout the maintenance session, both at the initial exterior inspection stage, and also during later interior inspection and cleaning stages.
Draining the tank
Commercial water tank cleaning and repairs usually require access to the tank interior; and that means draining away the water inside.
Draining the tank also helps drain away any nasty films or sediment that might have built up inside.
Has the tank been emptied safely?
Switch off the electricity supply to pumps/heaters, isolate the inlet valve and drain the tank of its contents completely.
Water should be drained slowly to prevent any potential wastewater flooding issues.
You might be able to collect and reuse the stored water for other purposes, but in many cases, it’s safer to simply send it down the sewage pipe; especially if you’re not confident of the water’s quality.
Has the tank interior been inspected?
Don’t forget to check the interior of the tank once you’ve gained access. Are there signs of damage which weren’t visible from the exterior of the tank?
What about internal electronic components like heating elements and submersible pumps? Do they require any repairs?
Cleaning the tank
Different types of tanks will require slightly different cleaning and disinfection procedures. Plastic tanks generally require softer cleaning brushes, lower power washer settings and stronger bleach concentrations than steel tanks.
Has the tank interior been scrubbed clean?
Let’s get the tank looking good as new. Using water and detergent with brushes or a power washer, clear away any residual dirt, algae, films or sediment that might remain inside.
Take care to avoid scratching or otherwise compromising the tank lining; unless, of course, you’re planning on recoating the tank during the maintenance session.
Have the tank’s corners and crevices been thoroughly cleaned?
Tank corners and joins can become the perfect hiding spots for grime; difficult to see, and often stubborn to remove.
Fine brushes and power jet washers can help to clear out the dirt, but remember that plastic tanks may require a lower pressure setting when using the latter.
Has the tank been rinsed?
Once you’re done with scrubbing the tank, thoroughly rinse the surfaces until the water runs clear and no bubbles remain.
Has any necessary repainting, recoating and/or relining been carried out?
How do you know if your tank requires recoating? If you’ve found signs of significant corrosion, leaks, biofilms and/or increased bacterial contamination, applying new lining coating layers can help to extend the service life of the tank by a few years.
You won’t necessarily have to disassemble and extract the tank, either. Recoating and relining can often be carried out on water tanks in situ.
Be sure to review the maintenance history of the tank, though. If you’re encountering the same issues time after time (e.g. persistent leaks even after several recoatings), it’s likely a sign that the tank is reaching the end of its service life and needs replacing entirely.
Have filters been cleaned/replaced?
If your tank employs filters, be sure to clean or replace these as necessary.
Tank disinfection, recommissioning and final report
Once the tank is fully clean, we recommend carrying out a final sterilisation of the tank and the rest of the water system.
Has the tank been refilled and dosed?
Isolate the outlet valve, refill the tank with water, and add a chlorination dosage to disinfect the water.
The correct dosage will depend on the size of the tank; we recommend consulting an expert if you’re unsure.
Has the chlorinated water been flushed through all valves/outlets?
Open up the outlet valve and run all the taps on your premises to ensure the chlorinated solution has sterilised the entire system.
Has the chlorinated water been left to sit in the tank?
Once the system has been disinfected, top up the water and chlorine if necessary, and then leave the solution to sit inside the tank for at least a few hours. Again, the exact recommended duration will depend on the size and type of tank; be sure to talk to an expert if you’re unsure.
Has the chlorinated water been flushed and the tank rinsed?
Drain away the chlorine solution in a safe manner, and top up the tank with fresh water. Leave the water to sit for a while, then drain the tank again and repeat the steps until no more chlorine remains.
Has final microbiological testing been carried out?
Finally, we need to check if disinfection has done its job.
Water sampling and microbiological analysis can confirm if the tank is now clear of infection; if not, simply repeat the chlorination process until the test results come back clean.
Are valves and systems set back to normal?
Don’t forget to reset any isolated valves, electricity supplies and other equipment when it’s safe to do so.
Has the completed maintenance session been documented?
As mentioned earlier, you should continue to record notes and photographic evidence of the tank’s condition throughout the maintenance session.
At the end of the maintenance session, take a moment to review your report and ensure everything is in order. Which issues came up during the session, and how were they remedied?
Maintenance records should be filed away where they can easily be found and reviewed before the next maintenance session; so that any recurring issues can be identified and addressed.
Need a hand with water tank maintenance? At Dynamika, our Hampshire water treatment specialists can offer microbiological water testing as well as water tank cleaning and chlorination services to help you prevent deadly legionella growth.
For more information, or to arrange a consultation, call our team on 03333 22 0800 or get in touch online today.